How To Make Your Own Lip Balm
Hello Everyone,
Most of us have had plenty of lip balms that glittered and sparkled but did little to actually hydrate our lips. After the initial shine wore off, we were usually left with dry cracked lips. Most lip balms do little to moisturize our lips, although they smell great and give a hint of color. This is why it’s a good idea to learn how to make a lip balm filled with healthy ingredients that will genuinely nourish and moisturize our lips. This healthy option is a smart way to void the laundry list of chemicals we can barely pronounce that are often found in most lip balms.
Gather Your Ingredients
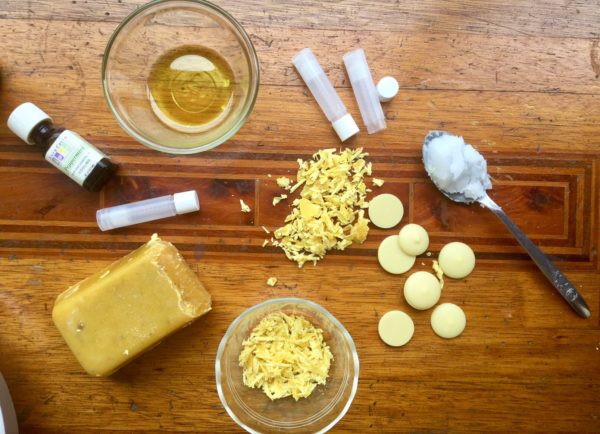
Burt’s Bee’s is well known for their all-natural products, including their lip balms. They use truly nourishing ingredients that not only give lips a soft moist feel but penetrate and create long-lasting moisture. Nourishing ingredients are the key to creating a chemical free lip balm that will give you long-lasting moisture. You will need beeswax, coconut oil, shea butter, and an empty pot or tube. If you have an old lip balm tube you can reuse it by cleaning it out. If you’d prefer to use a small pot, try to find a small empty cosmetic container. You will also need a plastic pipette to fill your tube or pot.
Measure Your Ingredients & Prepare Them
The ingredients that you are using to make your lip balm are well known for their highly moisturizing properties. Coconut oil is light but has the ability to moisturize the skin intensely. Shea butter is both hydrating and healing, and beeswax gives the lip balm a nice texture. Combine 2 tablespoons of beeswax pastilles, 2 tablespoons of shea butter, and 2 tablespoons of coconut oil in a glass bowl. Boil a pot of water and set the glass bowl on top of the pot. This will cause the ingredients to melt and blend. Stir the mixture until all the ingredients have completely melted. Turn the boiling water off and allow the glass bowl to rest over the pot. Now is the time to add an essential oil if you’d like to or a little mica to give your lip balm color. However, these are optional steps.
Fill Your Containers & Allow Your Ingredients to Cool
- 2 tablespoons beeswax pastilles
- 2 tablespoons shea butter
- 2 tablespoons coconut oil
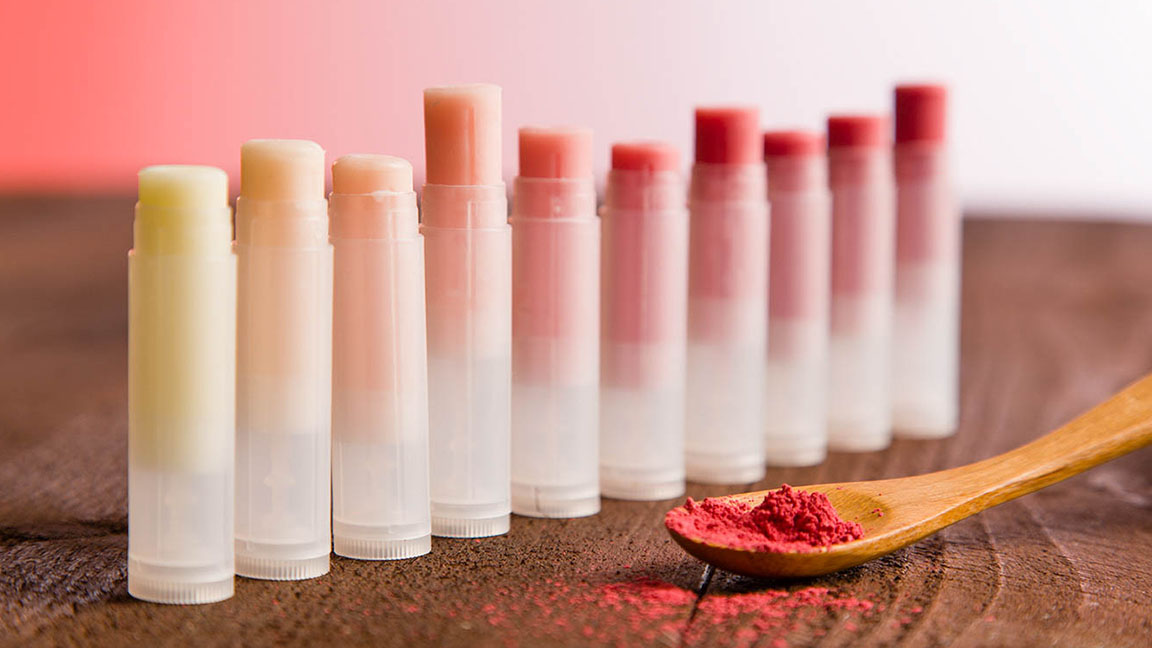
Take your pipette or dropper and immediately begin to fill your tubes or pots with your lip balm mixture. Work quickly because they will immediately begin to harden once they are removed from the glass bowl. Once you’ve filled your containers, allow them to sit, uncovered, at room temperature for several hours. They will cool off and completely harden. After this, you can place the lids on your containers. Experimenting with the amount of beeswax you use will change the texture of your lip balm. If you’d like a thicker richer balm, use more beeswax. Conversely, if you’d prefer a smooth light-weight texture, use less beeswax.
Optional Steps
You can use any essential oil you choose to add a pleasant scent to your lip balm. Simply add a few drops to your mixture after the ingredients have been melted. You may need to add them slowly until you are satisfied with the strength of the fragrance. You can even add color to your lip balm by adding mica in a color of your choice, once the ingredients have been melted. This is a fun way to customize your lip balm to fit your preferences. Slowly add mica and essential oil until you reach the desired depth of color and fragrance. This step is similar to picking an attractive wallpaper. There is no right or wrong choice. It’s about your likes and preferences.
It’s not difficult to create your own natural hydrating lip balm. You have the freedom to scent it with any essential oil you choose and control the texture by adjusting the amount of beeswax you use. You can even add color to your lip balm if you want to. However, the most important benefit you will gain from using your own healthy lip balm is a chemical-free mixture that will actually be good for your lips. Your lips will not only look and smell good, they will be nourished and hydrated as well.
This is a Guest Post by Cathy White